Shower Head Installation Process-2019
Shower Head Installation Process
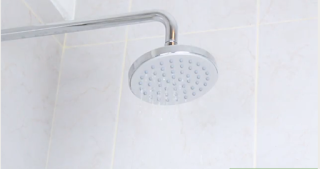
Installing new showerheads is the easiest, least expensive way to bring a new life to your shower - and it's something that even apartment-dwellers and tenants can do to make bathrooms private without bathrooms or other capitals! With the help of low flow models, the old way to protect water and "go green" is the best way: the average family can save 2900 gallons of water per year! And for people with sensitive skin or respiratory, a filter can help an out-of-date shower head out even health problems. With many good reasons to dig your annoying, old, or just a little inefficient showware, how to install a new way, do not take the uncertainty on your way!
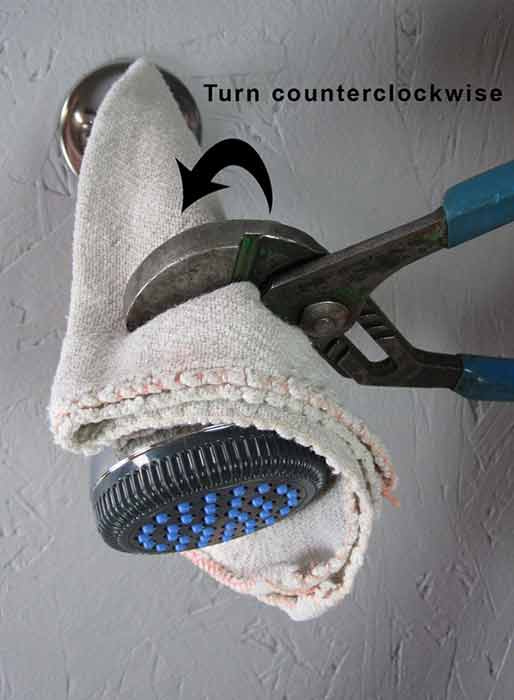
Step 1: Use a strap wrench, player or a crescent wrench to remove the old shower head. Turn on the connection point frequently. If you want to avoid cosmetic damage to the old shower head, the best method is to use a whip wrench. If a whip wrench is unavailable, you can use an anger in the shower and nut connector shower; This will help prevent scratching the finish.
Step 2: Clean the thread on the shower hands. There may be some remaining thread sealing tape or mineral deposits in the arm that can be cleaned using light soap and water and / or an old tooth brush. We've got to find that paper clips can be useful in removing old PTFE tape from threads.
Step 3: Now that shower hand thread is clean, you can apply the new PTFE tape. Use 4-6 wraps around the thread; Wrap tightly in a clockwise direction. Use your fingers to slowly tap the tape in the thread.
Step 4: Take your new shower head out of packaging and check the content. Some shower heads come with a rubber washer that you will need to install one. If your shower head does not come with a wash, skip this step. When it comes with a rubber washer, insert it into the shower to connect the shower hands and push it down flat.
Step 5: Shower head threads onto the shower hands begin. Start slowly to avoid thread crossings, and make the hand as hard as possible. Use your straddle wrench to draw nuts with a quarter turn (or keep an anger over the connection and use a crescent wrench or player). Be careful not to be rigid: this thread could damage the damage or possibly crack the nap to connect the shower head.
Step 6: Turn on the water and check for leaking. If a leak coming from your connection, close the water and tighten the nuts with another quarter turn.
Step 7: Turn off the water once more and check again for leak. If you do not have any, congratulations a good job!


Comments
Post a Comment